December 18, 2012

Kale Chips ~ Easy Does It!

A Few Days Ago I Made a Soup That Called For Kale, But Only 1/4 Of A Bunch, So I Was Left With All Of This Kale & No Recipe...Until I Remembered Kale Chips!  So I Google Recipes & Found This One On All Recipe's Website. 
 
 
So Easy & It Turned Out Pretty Good!
 
 
Here Are The Steps....
 
 
Cut The Stems Off The Leaves


Rip The Leaves Into Small Pieces & Wash Them Really Well


Next You Will Dry The Leaves Well.
I Happen To Have A Salad Spinner Which Was Perfect For Drying The Leaves!


Lay Them Spread Out On A Parchment Paper Lined Baking Sheet


Drizzle Olive Oil & Salt Over All The Leaves (I, Unfortunately, Put WAY Too Much Salt On It, So Remember, A Little Goes A Long Way!)


Bake Them In The Oven At 350 For 10-15 Minutes


And Wha-La!  You Have Kale Chips! Perfect For The Little Ones Too!!
 
Enjoy!


December 14, 2012

Another Christmas Card Holder

After I Made My Star Christmas Card Holder, I Saw This One On www.Shanty-2-Chic.com


Fortunately, My Friend Needed A Christmas Card Holder & Since She Lives Caddy-Corner Behind Me, We Had A Craft Day & Made Her One!
 
Here Is How It Turned Out...


There She Is With Her Son (who happens to be a few weeks younger than my daughter!!)
 
It Turned Out Sooooo Good!!!  And Can I Just Tell You How Easy It Was?!
 
Great Job Cat!

December 6, 2012

Easy Christmas Card Holder

Every Year We Get A Bundle Of Photo Christmas Cards & Every Year I Struggle With The Best Place To Put Them.  I Have Seen Christmas Card Card Holders In The Stores, But I Haven't Liked Any Of Them, So I Googled It & Found This One I Liked On Etsy
 
Cute, Right?!


So, Instead Of Purchasing It For $32, I Made One for $8!!! 


All I Had To Do Was Purchase The Star (which was on sale at JoAnn Fabrics)!  I Had The Rest One Hand!!
 
Here is What I Did.....
 
 
My Supplies Consisted of Burlap Ribbon, Light & Dark Jute Twine, A Star, 1 Jingle Bell, Ribbon & Clothes Pins


I Couldn't Decide Up Front Which Ribbon To Use, So I Pulled Out These 3 & Played Around With Them


These Jingle Bells I Had Already Purchased From JoAnn Fabric's for $5 For Another Project & They Worked Perfect For This One!!


I Started With The Star...
I'll Be Honest With You....I Hate Doing Bows!!! I'm Not Good At Them & They Take Me Forever....This One Took Me 30 Min!!! Just This 1 Bow!!!
After I Finally Finished The Bow, I Glued It On & Then Glued On My Jingle Bell


My Jingle Bell Conveniently Came With Jute Twine, So I Just Cut Off The Part Where It's Tied Together & Used It As Extra Decor To The Piece!


  Then I Cut The Ends of My Ribbon At An Angle & Trimmed Up The Jute Pieces


I Cut My Burlap Ribbon by Measuring Out How Long I Wanted It To Go, So Basically, I Eye-Balled The Length & Cut


Then I Laid Out The Light Jute Twine & Cut It To The Length of The Burlap. I Chose 2 Pieces of Jute Because I Liked The Way It Looked, But You Can Do 1 or More Depending On Your Preference


Then Using My Hot Glue Gun, I Glued The Top Of The Light Jute Twine Pieces To The Burlap Strip


I Then Glued The Whole Burlap Strip To The Back Of The Star.  I Love Hot Glue Because It's Easy & You Can Spread It Around With The Tip Of The Gun!


I Trimmed Up The Corners So There Wouldn't Be Any Burlap Showing Out of The Sides 


Then I Cut The Bottom Of My Burlap Strip So Each Side Came To A Point


The I Hung It & Ta-Da!!!
 
 
Turned Out Pretty Good!


November 30, 2012

Pintrest Test - Pass ~ Plus Christmas Decor!!!!

Yep! It's That Time To Start Your Christmas Decorating (if you haven't already!!)
 
For Me, I Turned To Pinterest to Kick-Start My Creative Side & I Found This....

 
My EXTREMELY Creative Sister-In-Law, Julie, Had Pinned it And It Seemed Pretty Easy To Do. The Pin Originally Came From This Blog.
 
Cute, Right? I Bought The Pre-Painted Letters & Some Martha Stewart Glitter Acrylic Paint (color is Aquamarine Crystal), and With A Circle Sponge Paint Brush, Painted on The Dots. The Bell I Bought From Joann's Fabric, Cut The Jute Hook Off, Spray Painted It With Spray Snow & Set It On The Piano! Simple as Pie!
 
So, This Leads Me To The Rest of My Decor. I Have To Preface The Rest Of This Post By Saying, I Stole (or borrowed with permission) The Decor Colors & The Idea for My Tree From My Sister-In-Law Julie...Thanks Julie For Inspiring Me!!! 
 
Here It Is...
 
 
This Is The Decor On Top Of The Piano. I Found Blue Ornaments & Tucked Them Into The Garland. The Vase I Had & Just Poured Epsom Salt In (for the snow effect), Added Some Snow Covered Twigs I Bought at Michael's & Threw In Some Snow Covered Pine Cones I Found at Big Lots for $5!!!!


My Mother-In-Law Gave Me a Bunch of Blue Ball & Kerr Jars a While Ago, Which Have Been Great For My Everyday Decor, But I Saw This Idea On Pinterest & Elaborated It. Since My Colors Are Blue & White, the Blue Ball Jars Worked Perfectly!  Thanks Mom!


This Is Decor I Threw Together For The Side Table....


I Bought These Blue (plastic, which is good since my 2-year-old loves to play with them) Ornaments From Hobby Lobby & Put Them In The Glass Jar I Had From My Daughter's Birthday Party ($8 at Target!!!).  I Used My Wonderful Cricut & Cut Out The "White Christmas & Stars"!  I'm Pretty Proud Of This One Because The Whole Things Came From My Creative Side!!!


Here Is Another Ball Jar.  I Used Flameless Candles So The Pine Cones Wouldn't Catch Fire (and for the safety of my daughter).  I Bought A 16 Pack of Flameless Candles (tea light & small votive size) for $10 at Big Lots!!!  They Even Came With Extra Batteries!


This Is Considered Our TV Stand....


I Have This Hanging Jar That I Filled With Ornaments.  This Idea Was Based Loosely On This Pin That I Saw On Julie's Pinterest. I Used White Ball Ornaments, Blue Jungle Bell Ornaments & White Glitter Balls I Cut From Garland Decor I Bought At Home Goods.
 
The Angel I Bought Years Ago From PartyLight....I Put It Out Every Year.


I Used Those Same Blue Glitter Balls For This Garland, Which I Wrapped Around These Woodsy Candles I Bought A Few Years Ago From Target (gotta love after-Christmas sales!!)


These Shadow Boxes Usually Have Candles In It, But For The Sake of Christmas Decor, I Threw In Some Blue Glitter Balls, The White Glitter Balls From The Garland I Bought at Home Goods & Pine Cones


Here Is A Closer Look


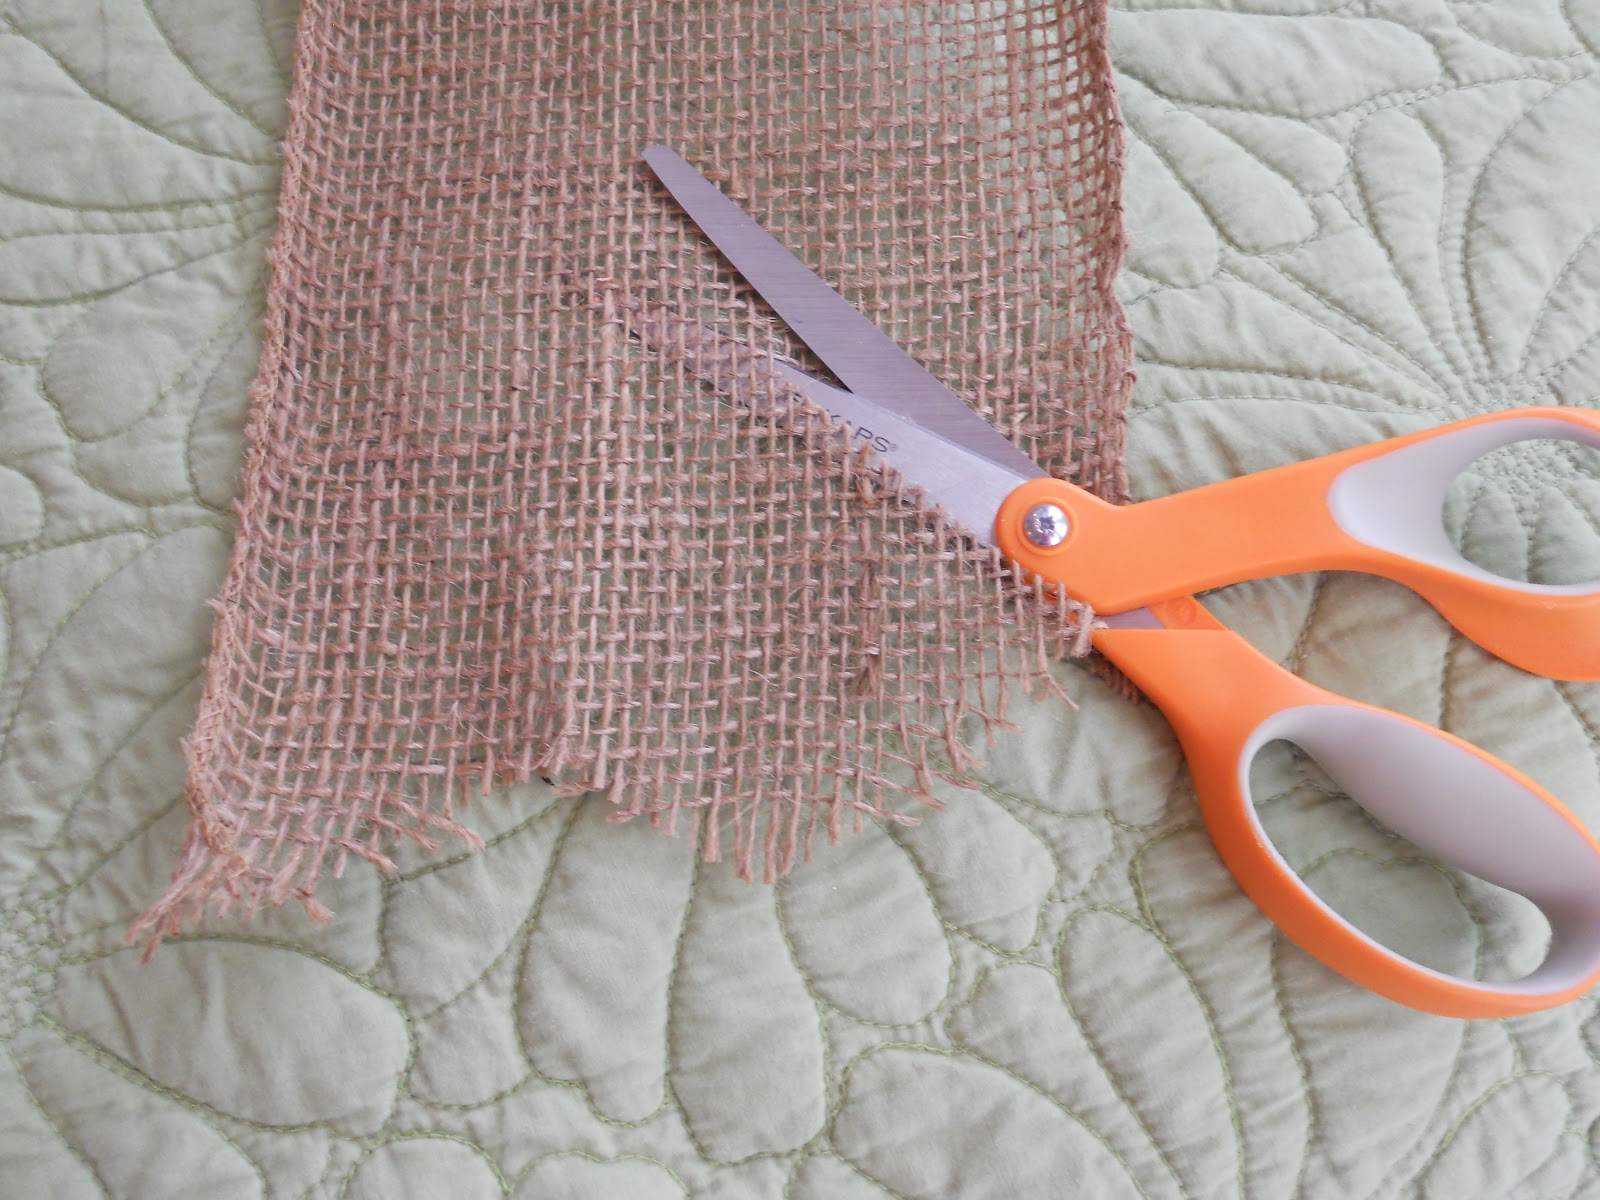
This Is My Favorite Piece!!!  I Had A Lot Of Burlap Left Over From My Daughter's Birthday Party & I Wanted to Use It, So, What Better Use For It Than A Wreath!?
 
Using A Glue Gun & Random Strips of Burlap That I Had, I Wrapped A Hay Wreath.  I Then Took The White Glitter Balls & Blue Jungle Bell Ornaments & Thread Florist Wire Through Them & Then Twisted Them Until I Found The Look I Wanted & Tied It To The Wreath.  I Topped It Off With A White Bow To Keep It Simple! 


Now For The Tree!  I Told You I 'Borrowed' The Ideas From My Sister-In-Law & Aside From The Ornaments, It's Pretty Darn Close To Hers!!! Thank you, Again, Julie!!!


We Usually Have a Beautiful Angle On Top Of Our Tree, But She Doesn't Stay On Very Well, So I Opted To Change It Up This Year!  I Found This Silver & Pearl Cross At Hobby Lobby & Used That White Glitter Ball Garland & Stuffed It In There!  It Turned Out Better Than I Expected.


I Noticed On Julie's Tree That She Used Large Ornaments, Which Allowed For Less Ornaments...More Simple & Less Expensive (especially if you are changing up your decor from last year!)  I Bought Most Of These At Hobby Lobby, But I Did Make The Wreath One.  I Just Wrapped Ribbon Around It So It Matched The Blue & White Color Scheme.


And Finally, The Tree Skirt. I Thought I Was Going To Have To Buy A White And/Or Blue Tree Skirt, Since The One I Had From Last Year Is Red, But I Remembered All The Burlap I Had From My Daughter's Party & Ta-Da!!!  Plus, It's The Same Thing Julie Did, So There It Is!!!
 
 
I'm Very Happy With The Way Everything Turned Out. As My Husband Put It, "It's Simple, Yet Elegant." Thanks to Julie For Inspiring Me & Letting Me Copy Your Ideas!


November 15, 2012

Garden Party

My Daughter Turned 2!!!  I Can't Believe She is Already 2!!!  Last Year, I Did a Ladybug Themed Party, so This Year, I Went For The Garden Themed Party. It Was More Difficult Because There Are A Lot Of Ways You Can Go With A Garden Theme, but With the Help of My Sister-in-Law, Mom & Sister, it Turned Out Wonderful!!  We Had It At A Local Park, Which Was Great, Except it Was 60 Degrees Out with 20 MPH Winds! We Had To Change A Lot At The Last Minute to Accommodate The Weather, But It Still Turned Out Great!
 
 
Here's the Little Lady Resting Before The Party Starts


Initially, We Wanted a Larger Pavilion, But Long Story Short, We Got The Smaller One, Which Was All We Needed!!


You Have To Have A 'Sweet-Tooth' Table! My Mother Made the Table Cloth Out of Burlap. So Cute!!


I Bought The Glass Jars at Target for $8 (thanks for the tip Julie) & The Crate is From Michael's. The Pink Shovels My Mom Found Online.


Dirt Cake is Always a Hit!  Easy to Make & Perfect for a Garden Themed Party


I Found These Tin Pots at IKEA for .80 ea. I Bought Plastic Cups From Smart & Final to Put the Dirt Cake In & Dropped it Into the Tin Pot.


I Had These Fences From My Daughter's Party Last Year & Thought They Would Make A Perfect Place to Put the Fruit Kabobs In.


I Found This Cute Idea On This Blog. It's Supposed To Look Like Mushrooms, But We Couldn't Find The Small Mozzarella Balls, so This Is What We Came Up With (good thinking Denea!!)


I Served Lemonade & Water...Kept It Simple!


It is a Little Hard To See In This Photo, But I Borrowed Glass Bottles From My Friend & Bought The Paper Straws on Etsy. The Lemons...Well, It Pays To Have a Lemon Tree!!!


Since It Was So Windy, We Didn't Want To Put The Bottles On The Table For Chance They Would Blow Over & Break, So, I Came Up With This Idea. It Helps To Have Extra Decor Things, Just In Case!


My Mom Made This Cute Banner. The Back is Burlap & The Front is The Same Material We Used Throughout the Decor of The Party.


My Husband & I Gave This Wagon To My Daughter For Her Birthday & It Came In Handy as Something Cute To Hold Her Presents In.  My Mom Also made the "2" Sign!


Believe It Or Not, There Was Face Painting, but Since It Was So Cold, No One Ventured Over To It, so It Never Got Used. No Worries, The Party Was Fun Even Still!


A Party Isn't Complete Without A Photo Booth. I Borrowed This Sign From My Friend Who Uses It As Decor In Her House!  So Cute & So Many Uses!!


Here Is My Daughter & One of Her Closest Friends Posing in Our Makeshift Photo Booth (because of the wind!!)


This Is Us...Eliana is saying "Cheese!"


Another Makeshift Photo Booth...


And It Is Mobile!!
 
 
I Really Have To Thank All of You Who Helped Make This Party Happen...You Know Who You Are!  Those Who Helped With The Decor, Lent Materials, Showed Up Early In The Freezing Cold to Unload & Set Up Everything & Those Who Came Out!  It Was Everything We Had Hoped For!!  Here's To More Birthdays Down The Road!