January 20, 2013

DIY "Time Out" Stool

When My Daughter Was Approaching the Age of 2, I Thought She Had Already Begun the "Terrible 2's," But No, I Was Sorely Mistaken!  It Wasn't Until After She Actually Turned 2 That it Really Kicked In! So, I Went Out And Created Her A Place For Her "Time Out"!


This Is By Far The Easiest Piece I Have Created. Basically, Because All I Had To Do Was Purchase The Stool.  I Had The Rest Of The Supplies At Home Already!


I Purchased The Stool From IKEA For $7.99.  They Come In White, Green & Yellow.
Click Here To See Them.
 
Then I Created The Letters "T-I-M-E O-U-T" Using My Cricut!


After That I Used A Pencil & Ruler To Draw The Lines Where I Wanted The Words & Then I Stuck Them On!  Simple!


The Strangest Part Was That It Took 6 Days For Us To Use It!!!  If I Had It Earlier, There May Already Have Been A Hole Burned Through It!!!

January 13, 2013

Baby Sleeping Sign

When My Daughter Was First Born It Was A Challenge Keeping The Dog From Waking Her Up With His Barking When The Mailman Brought Our Mail Or When Solicitors Came To Our Door, So I Googled Signs That I Could Create To Keep Solicitors Away & I Found One Similar To This One...


At The Time I Didn't Have A Cricut, So, With My Mother's Help, We Made This One...


It's Truly Simple. I Bought The Piece Of Wood At Michael's & Had My Husband Drill Holes On Each Side At The Top. Then I Painted It & When It Dried, We Put The Vinyl My Mother Had Cut For Me On It & Painted Some Mod Podge Over It To Seal It In. Then We Tied The Twine On & Hung It!  How Simple Is That?!  It's A Wonderful Idea & It Works 80% Of The Time (sometimes solicitors just don't pay attention!)
 
You Can Change Up The Wording Anyway You Want, But I Chose To Keep It Simple
 

January 6, 2013

Turkey, Brie & Cranberry Sandwich...Yum!

Over The Holidays, My Husband, Daughter & I Went Up To The San Fransisco Bay Area To Spend Christmas With My Family & One Afternoon My Husband & I Got Away For An Afternoon Date! We Went To A Movie & To Lunch At The Restaurant Across From The Theatre Called Buffalo Bills Brewery. That Is Where We Discovered A Wonderful Sandwich Called The "Brie And Cranberry Turkey." It Was Delicious, But Even Better, It's Something You Can Re-Create At Home.  So, I Did Just That & Here It Is To Share With You....
 
 
Ingredients are: French Baguette, Brie, Lettuce, Tomato, Onion, Sliced Smoked Turkey, Cranberry Sauce (whole berry), Mayo & Brown Mustard
 
 
Step One: Slice Your Baguette & Spread The Brie On One Side. Place In The Broiler For 3-5 Minutes


While That Is Broiling, Spread The Mayo & Brown Mustard On The Other Slice. Then Lay Out Your Turkey & Spread The Cranberry Sauce Along The Middle & Roll It Up


Next, Cut Up All Your Veggies


Then Pile It On! I Layered It As Follows: Bottom Slice Of Baguette (the one with the brie on it), Lettuce, Onion, Tomato, Turkey/Cranberry Roll & Other Slice Of Baguette (the one with the mayo & mustard on it) & Violá! 
 
Sooooo Delicious!!! Enjoy!
 

January 1, 2013

Easy DIY Gift Ideas

Since I Have Tapped Into My Creative Side This Year, I Decided To Make All The Christmas Gifts I Was Giving to The Adults (kids don't know what to do with the things I create).  Although I Would Like to Take Credit For Them As My Original Idea, I Can't.  I Borrowed Each Idea, But They Turned Out Great, Not To Mention They Were Greatly Appreciated. 
 
Allow Me To Share Them:
  
The First Gift Was To My Parents & My Sister & Bother-In-Law.  My Mother-In-Law Received A Gift Like This Years Ago & Now That I Have My Cricut, It Was Too Easy To Not Duplicate!


All I Had To Buy Was The Tile & The Stand, Since I Had The Black & White Vinyl. The Hard Part Was Deciding On The Font!  The "Est." Dates Are The Year They Each Were Married.
 
 
The Next Two Gifts I Borrowed From Shanty-2-Chic.  I Have Fallen In Love With This Blog (website) Because Their Ideas Are So Easy & So Beautiful!  Thank You Shanty Girls!!


These J-O-Y Signs Were Easy To Make Once I Had All The Pieces.  I Gave Them To My Mother-In-Law & Sisters-In-Law.  Since I Didn't Use Any Christmas Colors, They Can Be Used All Throughout The Year As Home Decor!
Here Is The Link To Shanty-2-Chic's Tutorial.


This Is An Easy Picture Frame Idea. I Combined 2 Different Ideas From Shanty-2-Chic To Create It. All I Did Was Take A Piece Of 2x6 I Had From The Previous Project & Glued A Wooden Knob I Bought From Michael's On Top. I Then Spray Painted It And The Clothes Pin, Black. When It Was Dry, I Distressed It With My Mouse Sander. Then I Cut A Piece Of Burlap, Sprayed It With Spray Adhesive & Centered It On The Piece Of Wood. Then I Made My Rosettes & Hot Glued Them And The Clothes Pin Onto The Wood. Finally, I Added Our Newest Family Picture & It Was Complete! Easy As Pie!!


All Of These Gifts Were So Simple To Make! If You Decide To Make Them Yourself, You Will Enjoy The Process & Love The Idea Of Giving Someone A Homemade Gift They Will Actually Want to Put In Their Home!


December 18, 2012

Kale Chips ~ Easy Does It!

A Few Days Ago I Made a Soup That Called For Kale, But Only 1/4 Of A Bunch, So I Was Left With All Of This Kale & No Recipe...Until I Remembered Kale Chips!  So I Google Recipes & Found This One On All Recipe's Website. 
 
 
So Easy & It Turned Out Pretty Good!
 
 
Here Are The Steps....
 
 
Cut The Stems Off The Leaves


Rip The Leaves Into Small Pieces & Wash Them Really Well


Next You Will Dry The Leaves Well.
I Happen To Have A Salad Spinner Which Was Perfect For Drying The Leaves!


Lay Them Spread Out On A Parchment Paper Lined Baking Sheet


Drizzle Olive Oil & Salt Over All The Leaves (I, Unfortunately, Put WAY Too Much Salt On It, So Remember, A Little Goes A Long Way!)


Bake Them In The Oven At 350 For 10-15 Minutes


And Wha-La!  You Have Kale Chips! Perfect For The Little Ones Too!!
 
Enjoy!


December 14, 2012

Another Christmas Card Holder

After I Made My Star Christmas Card Holder, I Saw This One On www.Shanty-2-Chic.com


Fortunately, My Friend Needed A Christmas Card Holder & Since She Lives Caddy-Corner Behind Me, We Had A Craft Day & Made Her One!
 
Here Is How It Turned Out...


There She Is With Her Son (who happens to be a few weeks younger than my daughter!!)
 
It Turned Out Sooooo Good!!!  And Can I Just Tell You How Easy It Was?!
 
Great Job Cat!

December 6, 2012

Easy Christmas Card Holder

Every Year We Get A Bundle Of Photo Christmas Cards & Every Year I Struggle With The Best Place To Put Them.  I Have Seen Christmas Card Card Holders In The Stores, But I Haven't Liked Any Of Them, So I Googled It & Found This One I Liked On Etsy. 
 
Cute, Right?!


So, Instead Of Purchasing It For $32, I Made One for $8!!! 


All I Had To Do Was Purchase The Star (which was on sale at JoAnn Fabrics)!  I Had The Rest One Hand!!
 
Here is What I Did.....
 
 
My Supplies Consisted of Burlap Ribbon, Light & Dark Jute Twine, A Star, 1 Jingle Bell, Ribbon & Clothes Pins


I Couldn't Decide Up Front Which Ribbon To Use, So I Pulled Out These 3 & Played Around With Them


These Jingle Bells I Had Already Purchased From JoAnn Fabric's for $5 For Another Project & They Worked Perfect For This One!!


I Started With The Star...
I'll Be Honest With You....I Hate Doing Bows!!! I'm Not Good At Them & They Take Me Forever....This One Took Me 30 Min!!! Just This 1 Bow!!!
After I Finally Finished The Bow, I Glued It On & Then Glued On My Jingle Bell


My Jingle Bell Conveniently Came With Jute Twine, So I Just Cut Off The Part Where It's Tied Together & Used It As Extra Decor To The Piece!


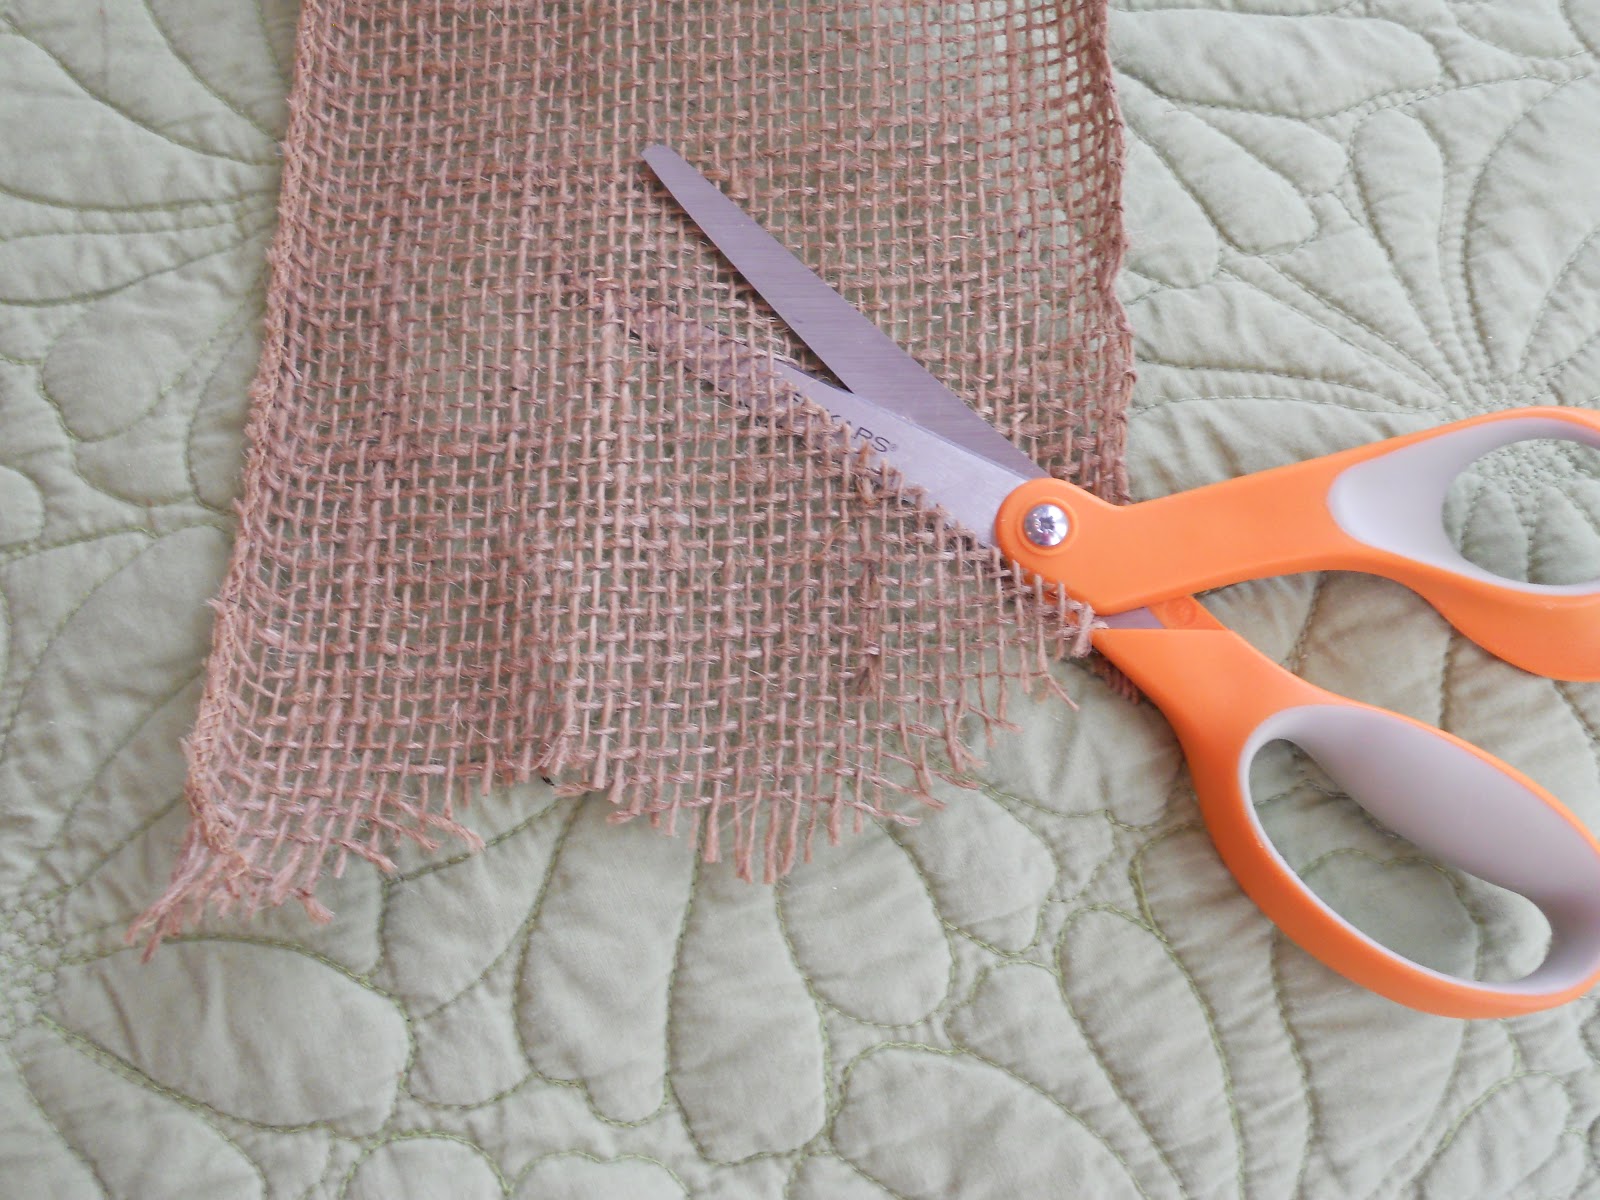
  Then I Cut The Ends of My Ribbon At An Angle & Trimmed Up The Jute Pieces


I Cut My Burlap Ribbon by Measuring Out How Long I Wanted It To Go, So Basically, I Eye-Balled The Length & Cut


Then I Laid Out The Light Jute Twine & Cut It To The Length of The Burlap. I Chose 2 Pieces of Jute Because I Liked The Way It Looked, But You Can Do 1 or More Depending On Your Preference


Then Using My Hot Glue Gun, I Glued The Top Of The Light Jute Twine Pieces To The Burlap Strip


I Then Glued The Whole Burlap Strip To The Back Of The Star.  I Love Hot Glue Because It's Easy & You Can Spread It Around With The Tip Of The Gun!


I Trimmed Up The Corners So There Wouldn't Be Any Burlap Showing Out of The Sides 


Then I Cut The Bottom Of My Burlap Strip So Each Side Came To A Point


The I Hung It & Ta-Da!!!
 
 
Turned Out Pretty Good!